MAXIMIZING SPACES

When space is limited, it’s time to get creative. There are many ways to maximize various spaces in your home with storage solutions and organizational components to capitalize on every available inch. Read on for more information on cool space savers, clever appliances, and fantastic fixtures that help make smaller spaces feel grand.

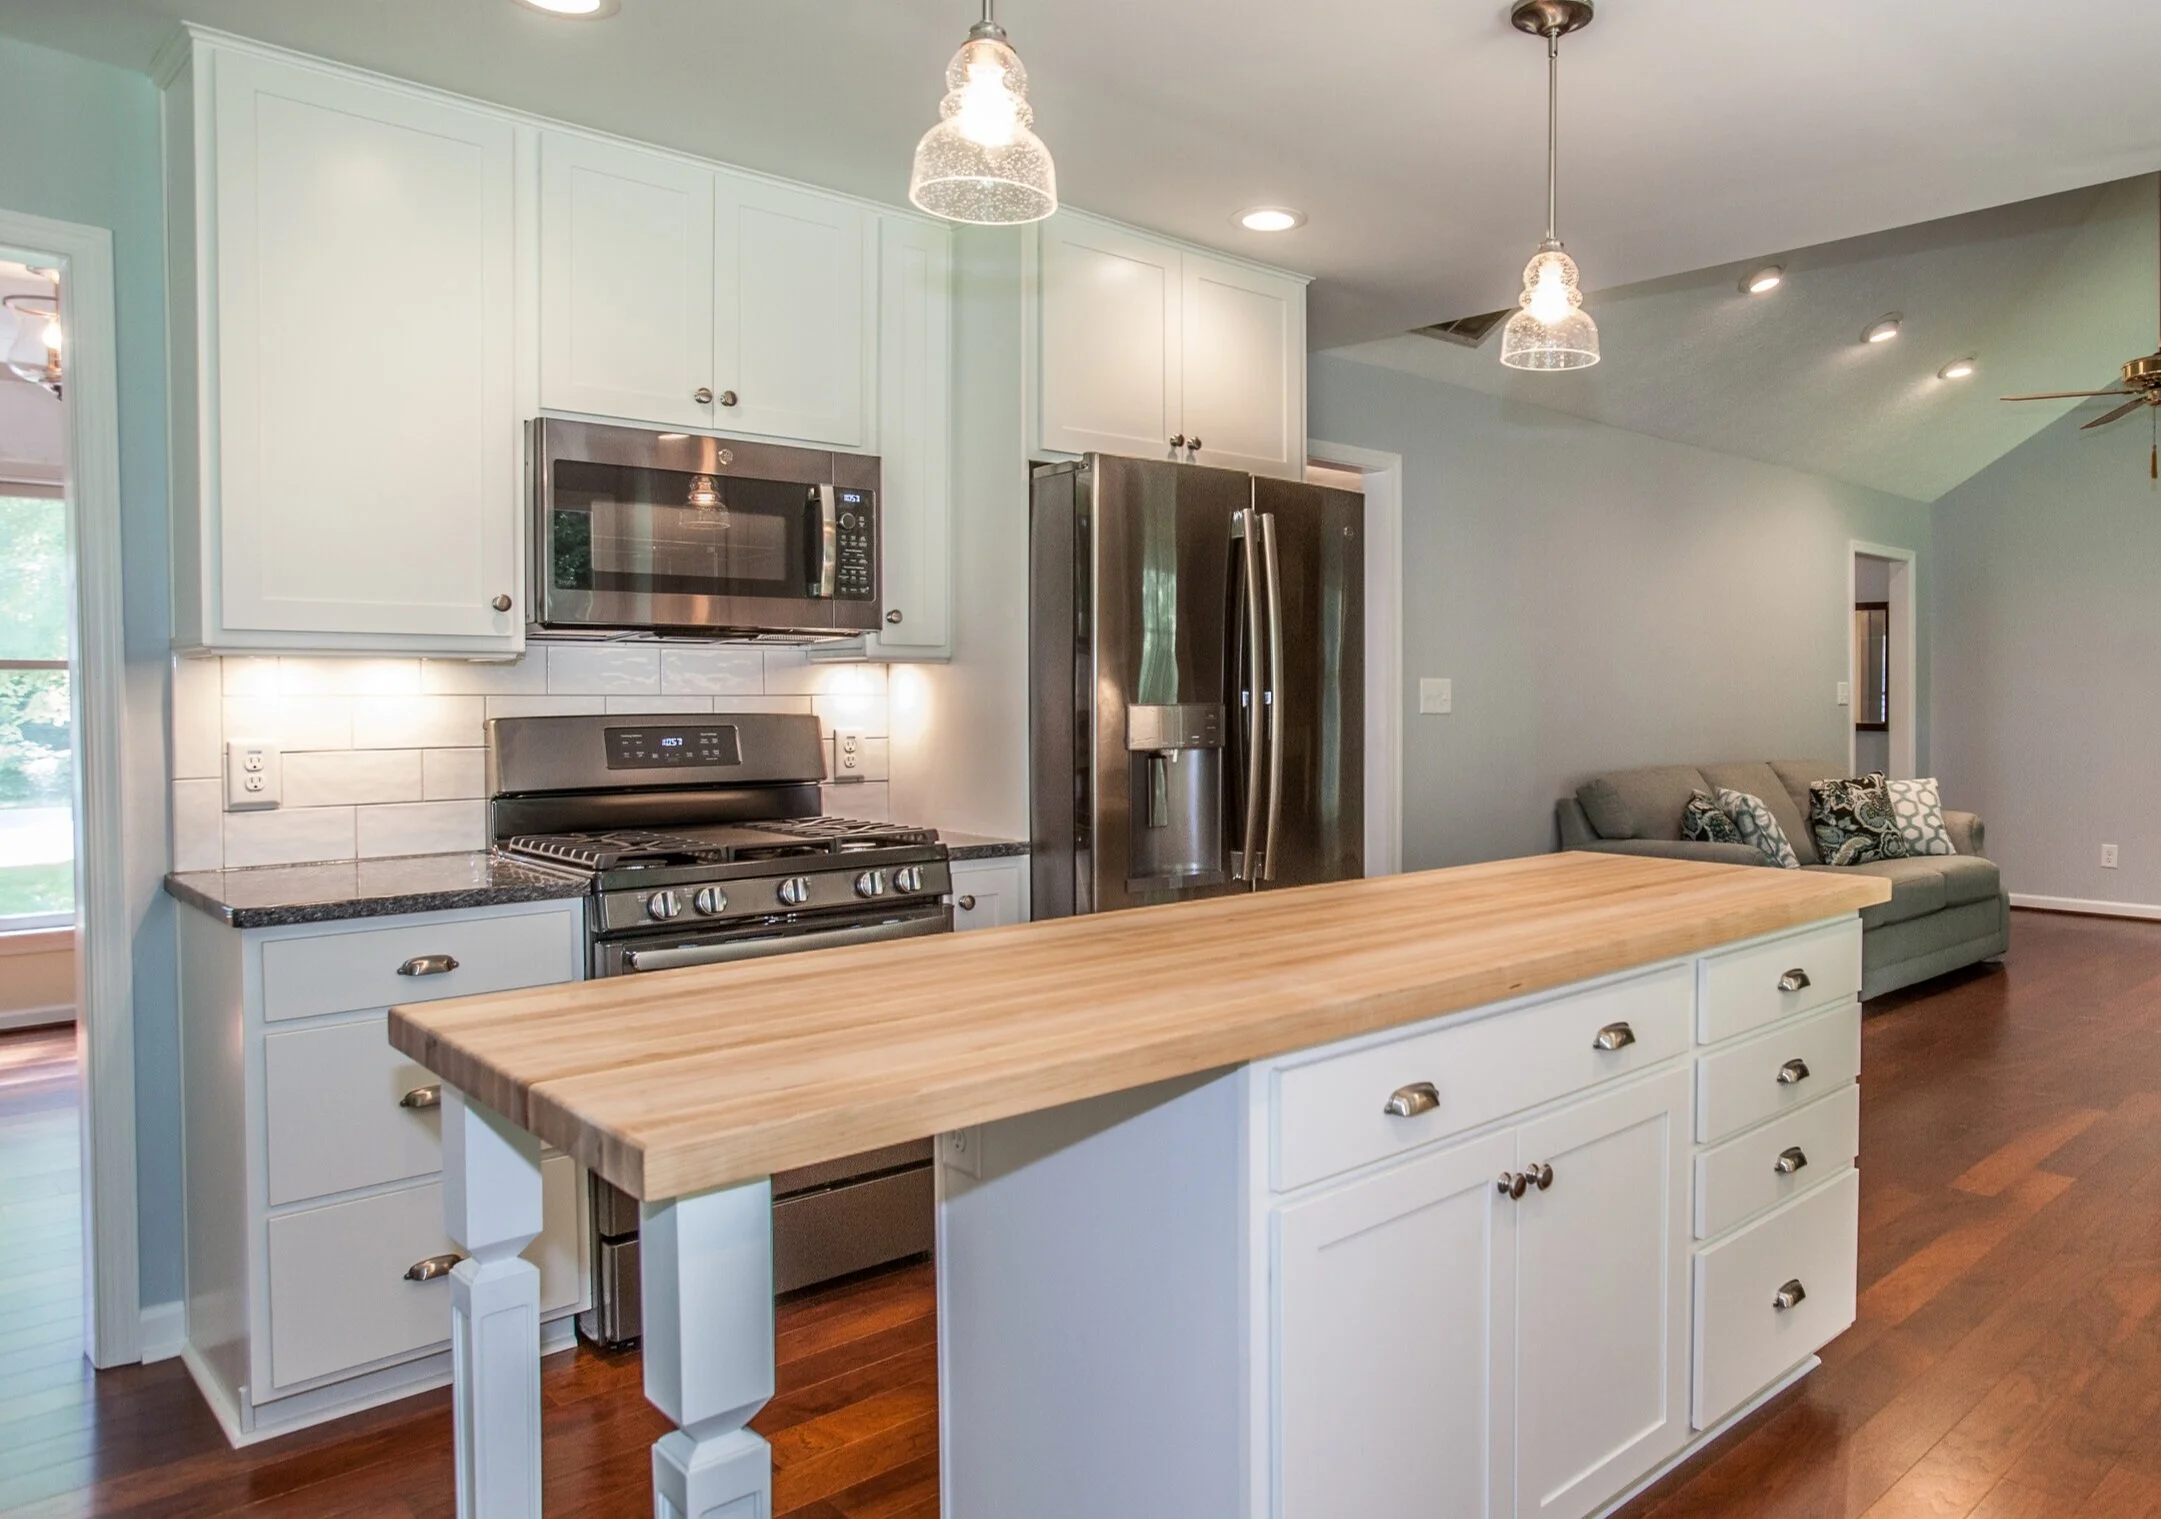
Demonstrating the pull-down shelf in a client’s newly completed kitchen.

Photo by Steven Salazar

CABINETRY:

If cabinet space is at a premium, how those cabinets are arranged and configured is key. I always recommend incorporating drawers whenever possible. Drawers provide a great way to see, contain, and access items that would otherwise be lost in a cabinet with only shelves. For storing specific items, Rev-A-Shelf creates a myriad of cabinet storage components that can be fitted into existing cabinetry, or incorporated into new cabinetry. My top recommendations are the cloud corner storage shelves for base cabinets, wall cabinetry pull-down shelves, the drying rack shelf, and the classic rollout shelf.

FURNITURE:

This ottoman has a lift-up top cushion to reveal an open storage space inside.

Photo by Steven Salazar

End tables with additional shelves or drawers add to the storage capability without increasing the footprint of the piece. Furniture and accessory pieces with hidden storage are always a win. Sofas and ottomans with storage under the cushions are available; these areas are great for blankets, extra pillows, games, and even remotes. Also, don’t be afraid to go up - vertical storage is an amazing way to capture more space. Go for that tall bookshelf or cabinet and celebrate all the room you’ll have!

WALL SPACE:

In the same vein as the tall bookshelf, wall-mounted fixtures are another great way to gain more storage without using additional floor space. Items like wall mounted drying racks, shallow jewelry cabinets with swingout doors, and shelves for media storage will make such a difference.

FIXTURES:

Workstation sinks are becoming a star in kitchen spaces, providing a place to wash, cut, and air-dry fruits and vegetables right in the footprint of the sink itself. These sinks also come with components for drying dishware and utensils, saving valuable counter space. In bathrooms, showerheads with integrated handshowers (including full-on shower towers with body sprays) are a streamlined way to have multiple functions without taking up additional wall area. Shower niches (available in many standard sizes as well as custom) provide a place for shampoo, conditioner, and more that is recessed into the shower wall. And we can’t forget the tried-and-true medicine cabinet, now available with integrated LED lighting inside and out, as well as interior electrical receptacles and magnifying mirrors.

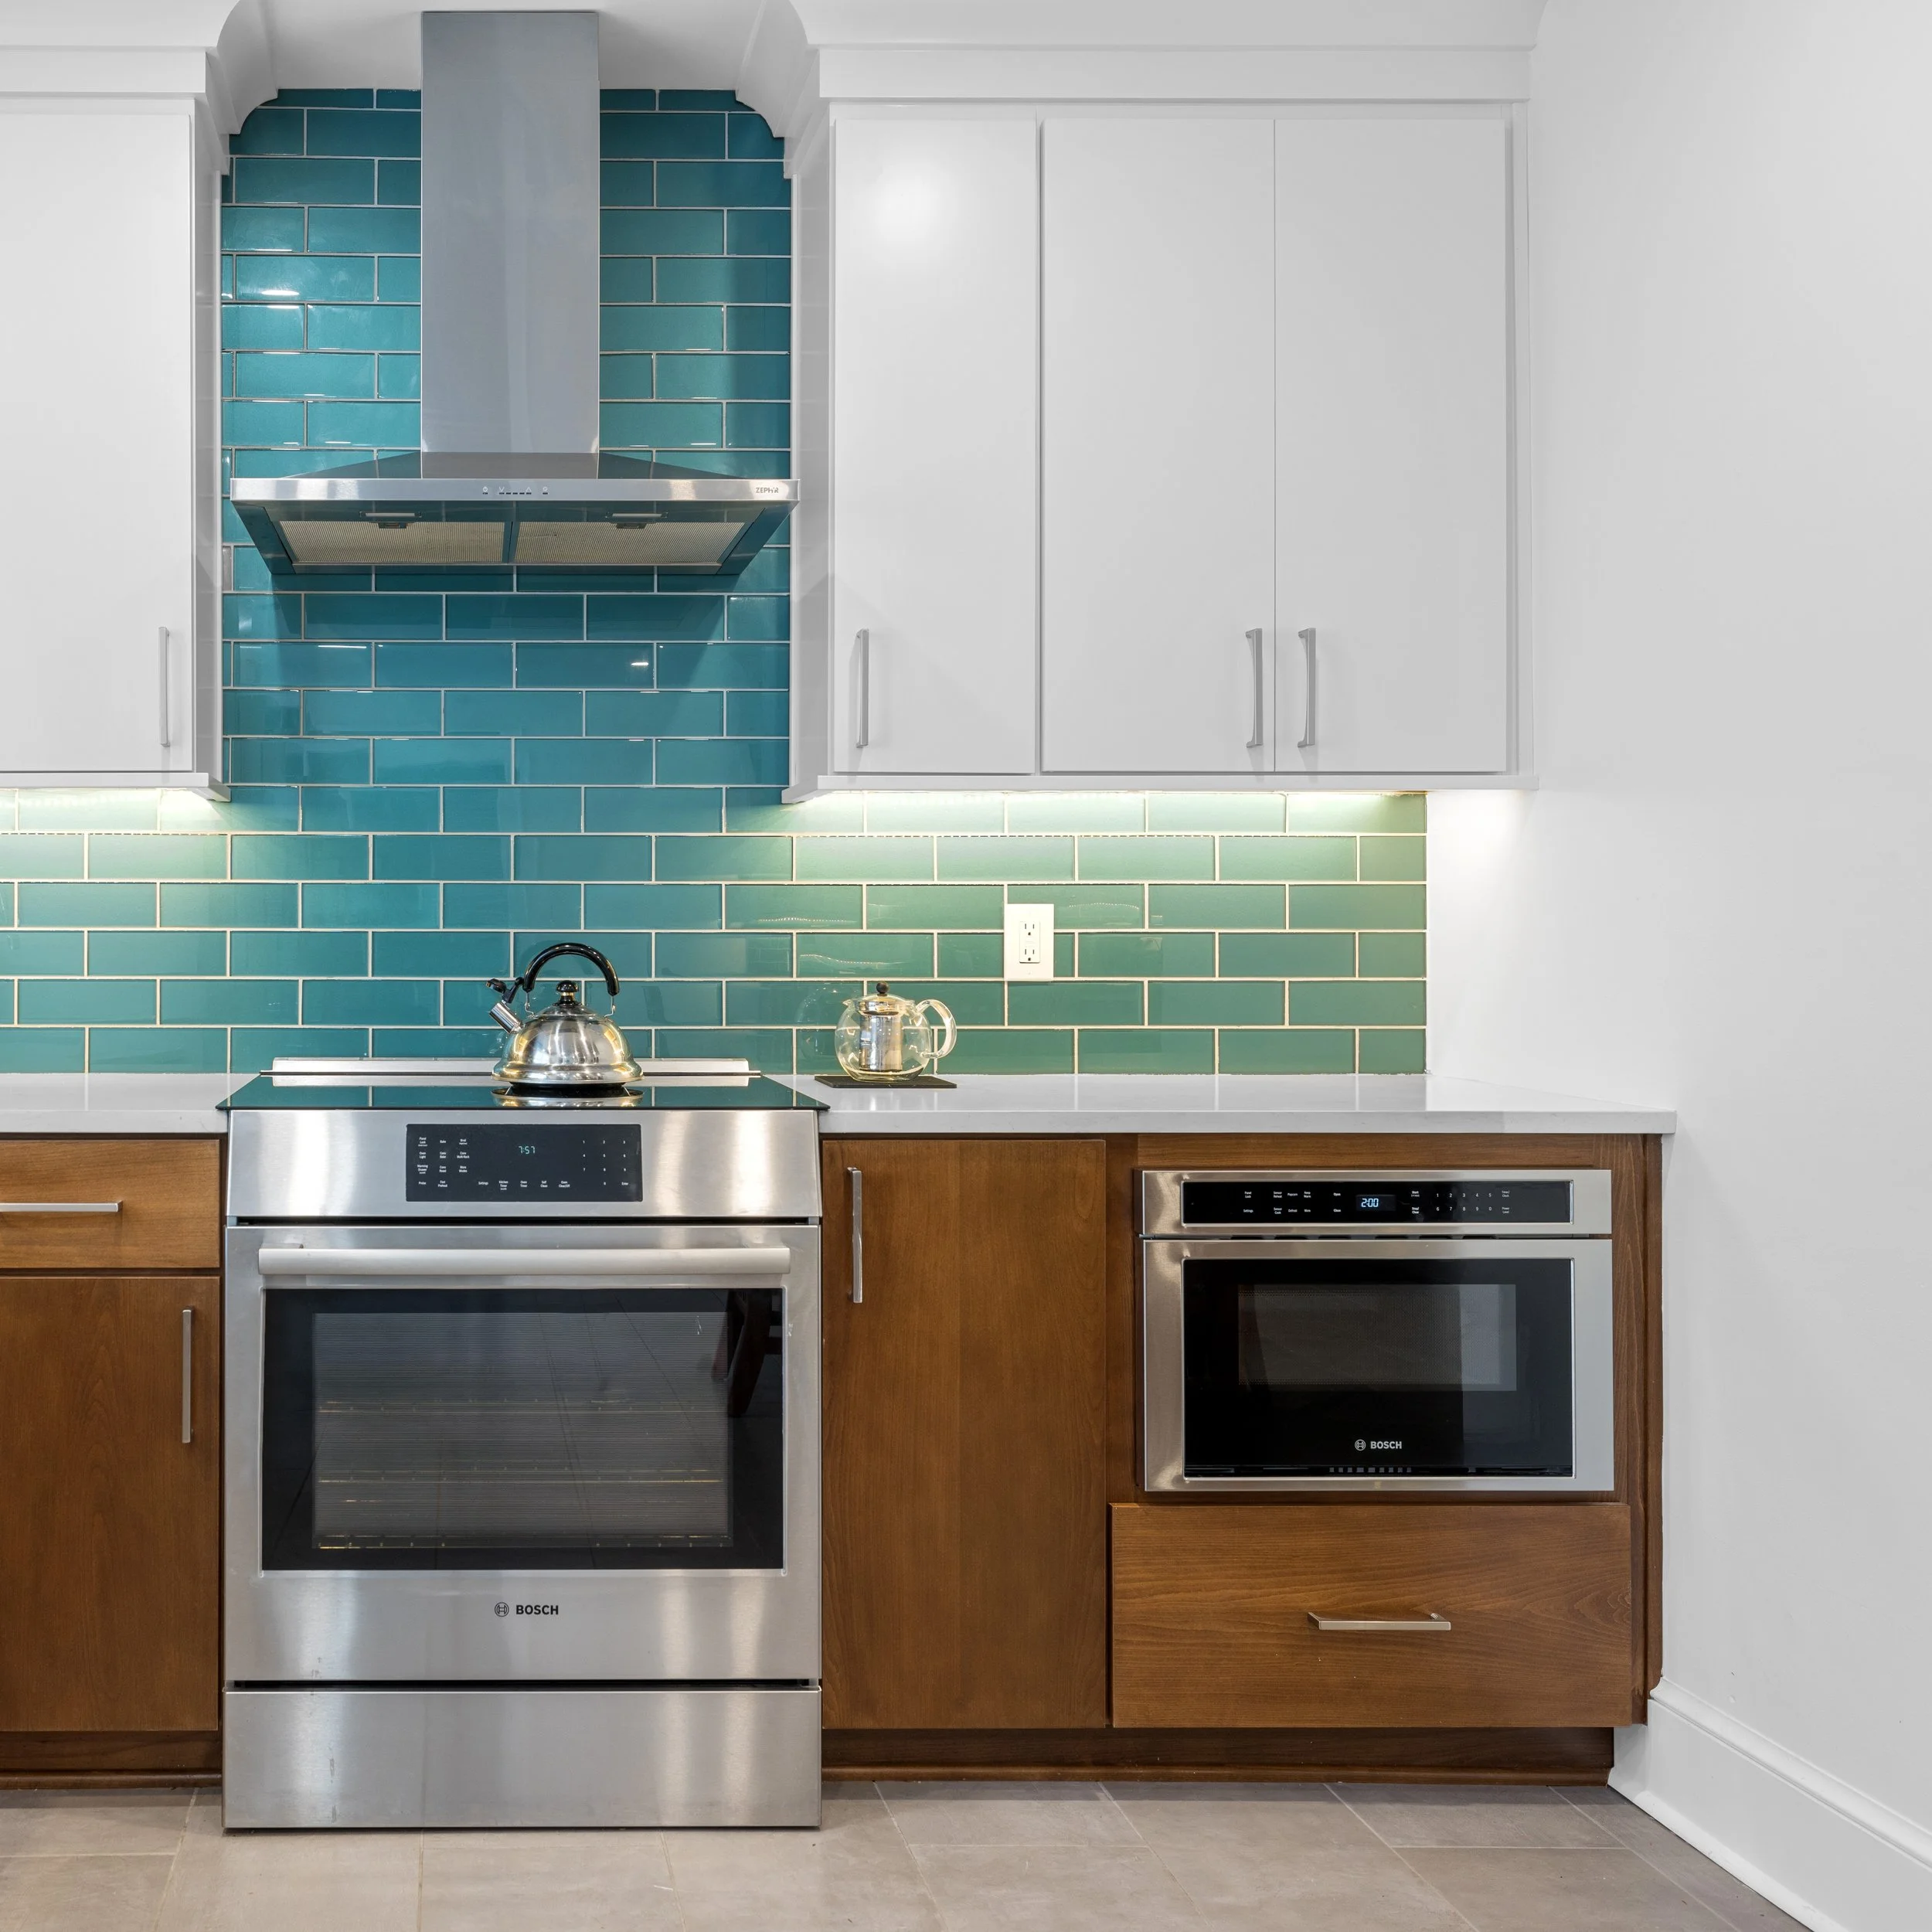
The microwave drawer allows for an easier reach than above the range, while allowing the counterspace to remain clear for cooking prep.

Photo by Steven Salazar

APPLIANCES:

Compact dishwashers, stackable washer/dryers, microwave drawers, and refrigerator drawers are just a few options for high utility in low square footage. There are also multi-function units like the all-in-one washer and dryer, and the Advantium oven which not only offers microwave and convection cooking options, but also speed cooking, radiant heat, and warming features (all in the same unit!).

This is really just the tip of the iceberg when considering space saving options; there are many wonderful manufacturers that provide creatively designed pieces that help organize and store, helping our spaces reach their full potential. Yay, design!

Cheers,

Jaime

All photos are from projects designed by Jaime Simpson.


DESIGNING FROM A DISTANCE

Though it is always best to have the opportunity to meet in person during design projects, it is entirely possible to have a productive, positive, and successful experience designing virtually.


When considering how the design process has changed, many things have actually stayed the same: prior to COVID-19, I was often communicating ideas, drawings, and concepts digitally through email; I was familiar with brainstorming with clients who lived out of the area over FaceTime; and I definitely had more than one meeting with suppliers and manufacturers’ reps over Zoom or Skype.

These experiences, unbeknownst to me at the time, prepared me for the shift that has taken place as quarantining and social distancing have become part of the process. I am currently meeting with clients in person (with face coverings, social distancing, and other safety measures in place), but have maintained my virtual services for those clients wishing to have a fully virtual experience, as well as for those clients who are out of my local area.

I’ll give you a bit of a behind the scenes, play by play of how a virtual design experience would go:

Virtual Consultations

(for those interested in consultations only, and not a full design concept)

  • The first step would be a phone call to discuss the general topic of the upcoming consultation and to determine the date and time for the 30 or 60 minute session to be held over FaceTime or Zoom. Any helpful inspiration photos that the clients have collected would be sent to me prior to the consultation.

  • During the consultation, the client would show me the space to be discussed and ask any questions they may have. For example, if a client is looking to update their furniture arrangement, they could show me the space, provide me with any necessary measurements on the spot, and I would then provide my recommendations.

  • After the consultation, I would provide a summary of our discussion, with any decisions and specific selections listed in detail. This would be sent via email.

Design Concepts

  • The first step would again be an initial phone call to discuss the scope of the project, including the general goals of the new design.

  • A virtual consultation would happen next, so that I could see the space(s) in full and have a more in-depth discussion with the clients about the desired changes. Measurements would be provided at this point, and discussion of the desired style and color palette as well. Inspiration photos would be shared with me at this stage.

  • My next step would be to design the layout of the space and create design concepts with my recommended materials, fixtures, and furnishings (usually two different options). This presentation would be sent to the clients via email, and followed up with a phone call to discuss.

  • After receiving feedback from the clients, any necessary revisions would be made and the presentation adjusted. All available physical samples of finishes and fabrics would be sent to the clients for review.

  • Once the layout and selections were finalized, I would put together a spreadsheet of selections with source information for the clients or their contractor. All drawings would have detailed notes to ensure the design is implemented properly.

  • During the execution of the project, I would be available to meet virtually with the clients, the contractors, and tradespeople to confirm details and answer any questions.

  • Once the project is complete, there would be a virtual meeting for me to see the end result and celebrate with my clients.

Despite the changes that have taken place in this industry, much of the design experience remains the same. The virtual process can still be a fun, transformative adventure. There’s just a little more distance involved.

Are you interested in a virtual consultation? Let’s chat!